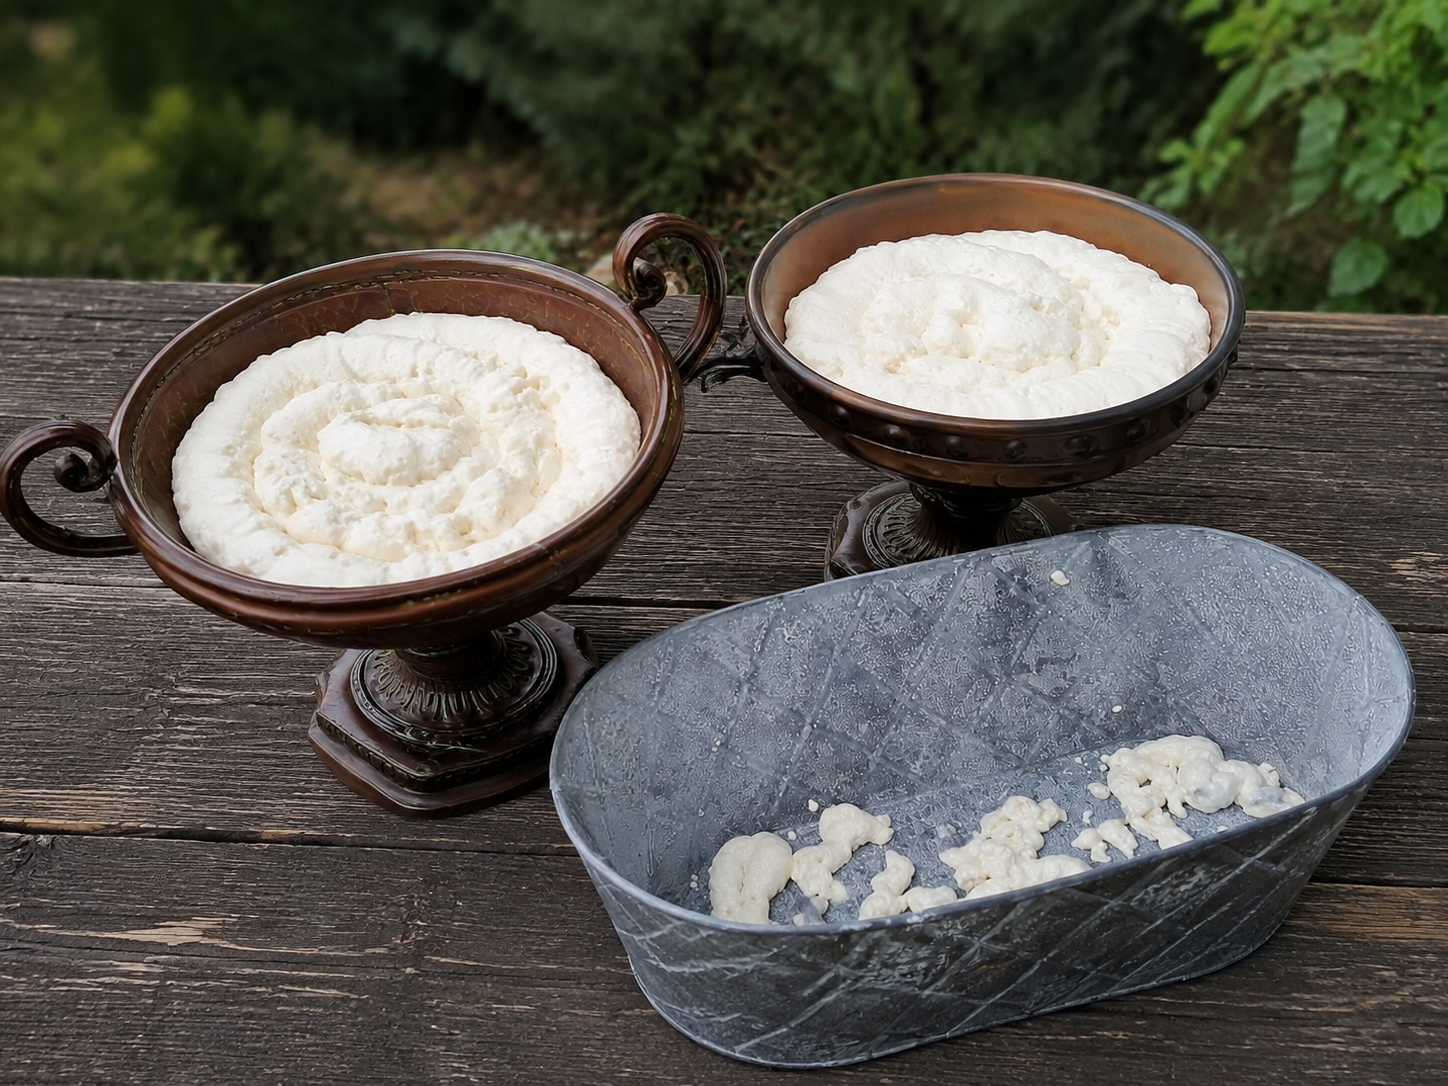
The foam stage is not the prettiest part of a fairy world, but it creates the level, lightweight foundation that makes everything else possible.
Fill and cure
GE Multi-Purpose Insulating Foam Sealant was applied outdoors, with gloves, directly into the clean containers in one layer. About four inches were left below each rim so expansion produced a shallow base roughly one to two inches from the top.
The foam soft-set in about ten minutes. The containers stayed outside for an hour, then cured indoors overnight. The can states eight hours for a full cure; the extra time was convenient and ensured the surface was dry and the full mass felt firm before carving.
- Read and follow the complete directions on the exact product
- Work with gloves and adequate ventilation
- Do not carve until the foam is fully cured
- Keep sharp tools and small parts away from children and pets
Carve the landscape
A small close-quarters saw leveled the surface and cut deeper areas for a pond. Useful foam offcuts were saved and glued back onto the base wherever the landscape needed a rise.
Every exposed piece of foam was first covered with leftover garden soil. Aquarium gravel and preserved moss were then layered only where the scene needed them. Spray adhesive held the first soil layer; craft glue anchored heartier moss pieces through the soil and directly to the foam.
- Plan the home, path, and pond before cutting
- Bury structural metal edges securely
- Use adhesive appropriate to the material and setting
- Cover all visible foam with soil and finish materials
Outdoor notes
These worlds are designed to remain outdoors and are covered with a thin tarp or heavy plastic during rough weather. After a week of heavy rain, cool nights, and high heat, the test pieces were holding well—but that is an early test, not proof of permanent performance.
Drainage needs depend on container shape, climate, materials, and exposure. Monitor for pooling, moisture damage, and freeze-thaw movement rather than assuming one method fits every build.